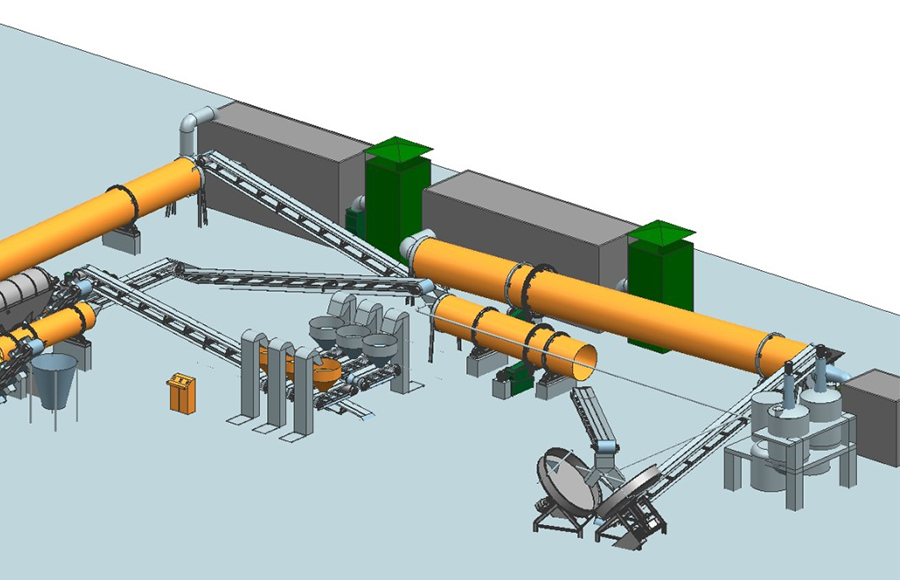
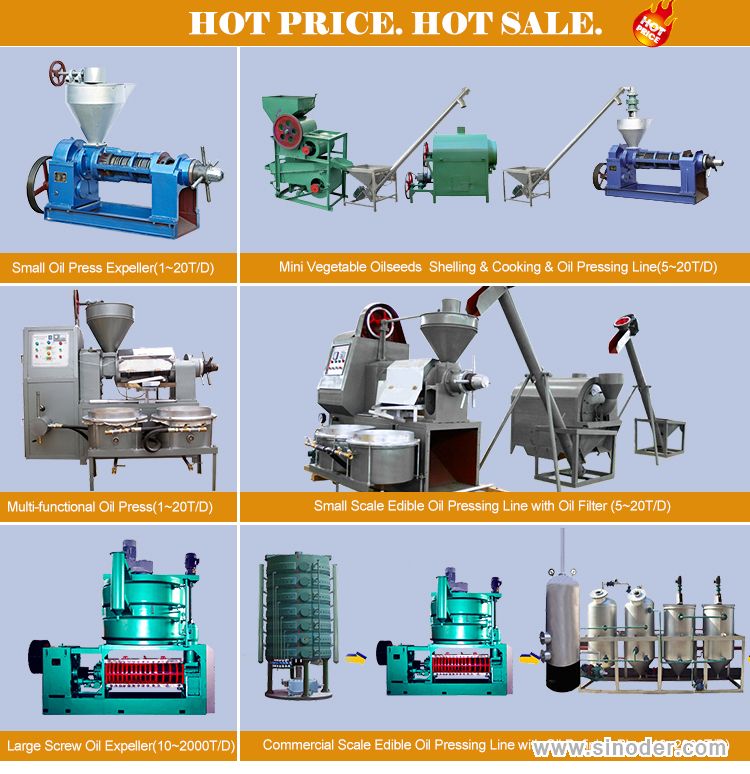
[ Brief Introduction of Production Line ]
Screw oil presses are currently among the most commonly used oil presses in oil mills and are widely adopted due to their high oil extraction efficiency.
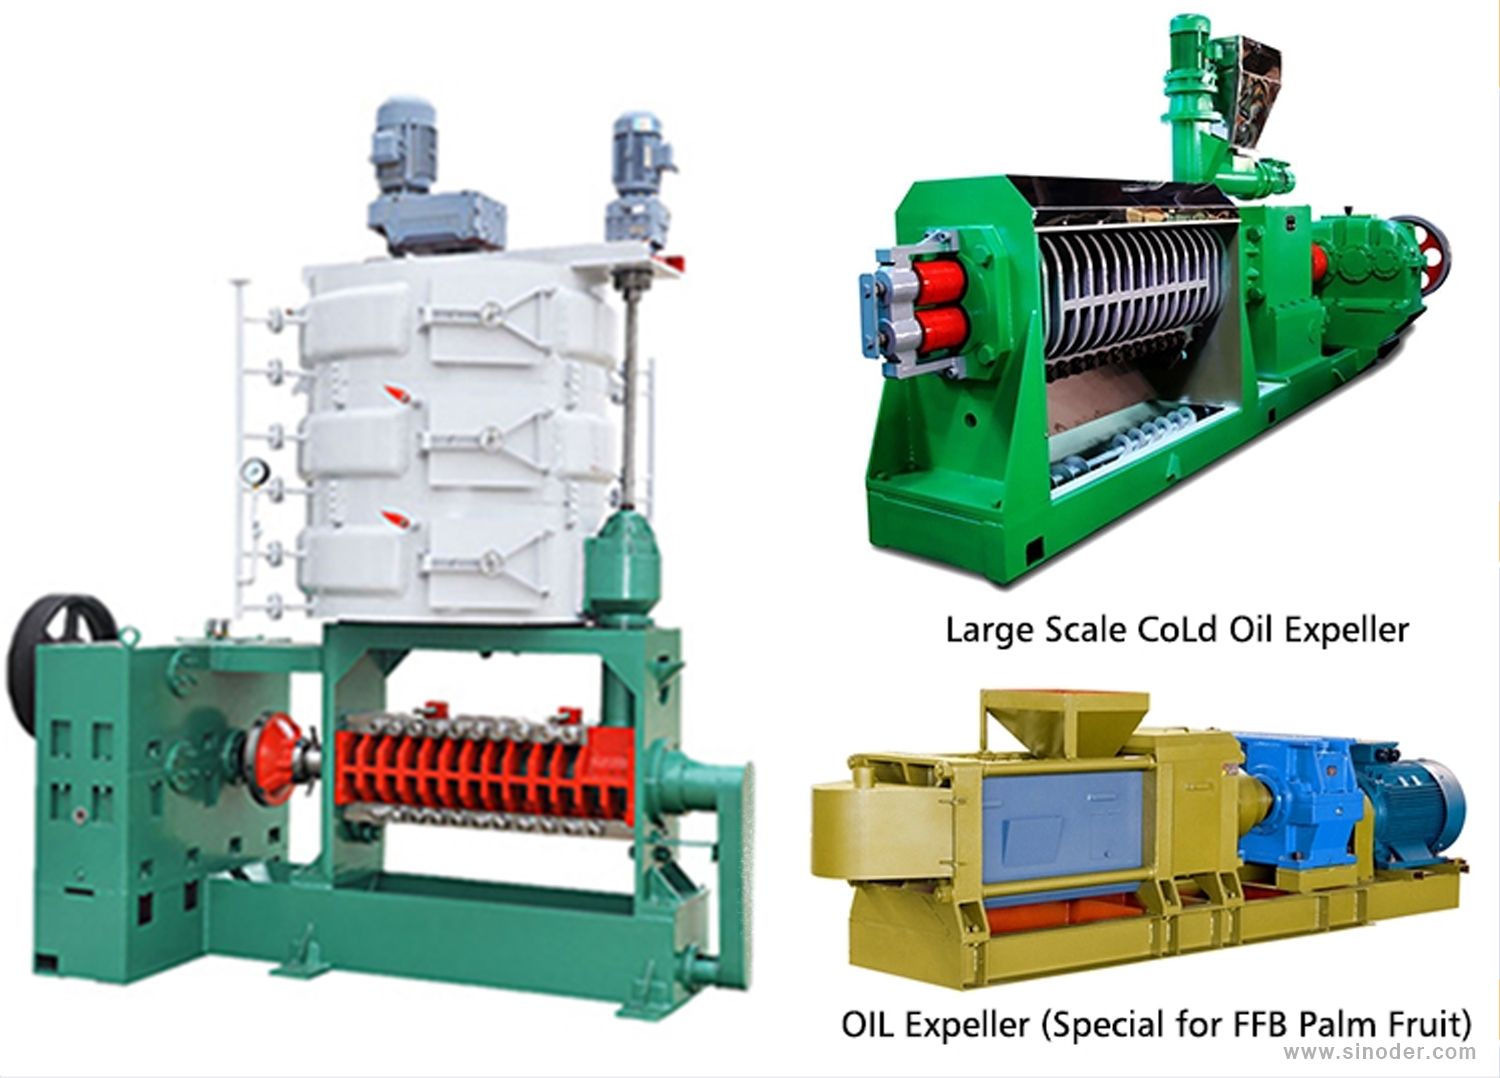
Working Principle of Screw Oil Presses:
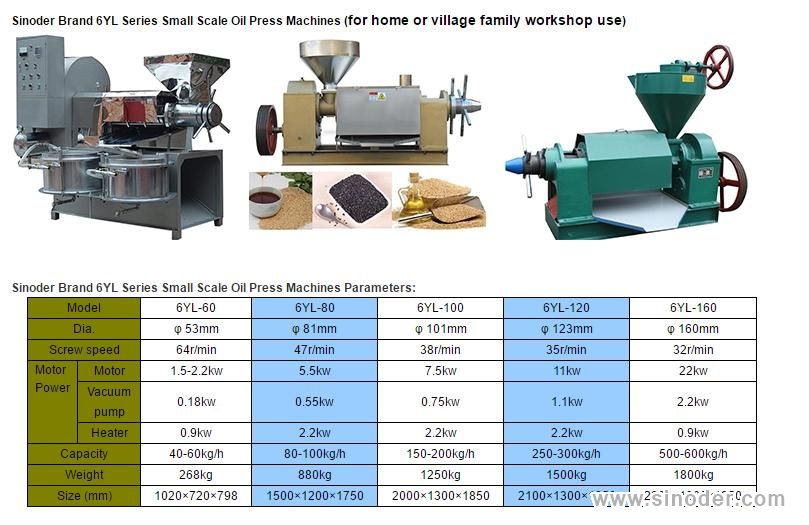
Working Principle of Single-Screw Oil Presses: Pre-steamed and roasted oilseed cake is fed into the pressing section after being kept warm in a steamer and having its moisture content finely adjusted. The oil extraction process is completed through the combined action of screw compression and the pressing cage.
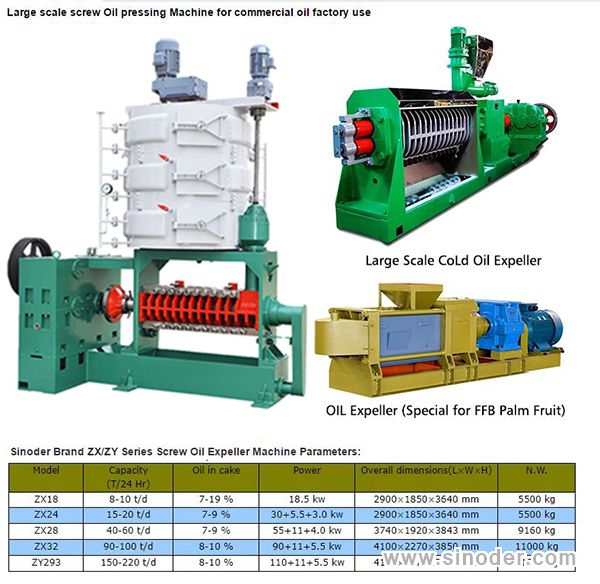
Working Principle of the Twin-Screw Oil Press: The squeezing force generated by two counter-rotating screw shafts within the press cage, in conjunction with the cage itself, extracts the oil from the seed meal. The entire oil extraction process, from the entry of the seed meal into the press to the discharge of the cake, proceeds continuously.
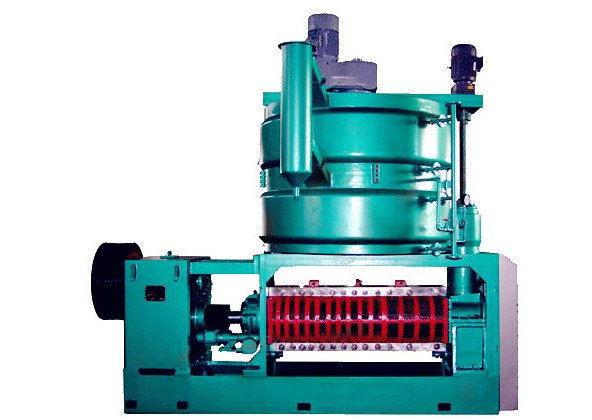
Structure of the Screw Oil Press:
The components of the screw oil press chamber, from the inside out, include: screw shaft (shaft core), screw flight, cake discharge spigot, locking nut, long key, retaining ring, set screw, feed screw, large handle, bearing, round nut, bar plate, bar plate ring, and round plate.
Components in the oil press gearbox: large, medium, and small gears; bearings; coupling sleeves; oil seals; gearbox cover; perforated pressure cover; pulleys, etc.
Oil presses are not inexpensive, especially since they contain many small parts that are subject to wear and tear during the oil extraction process. Therefore, maintenance and upkeep of the screw oil press are essential to prevent operational failures.
Operating Procedure for Screw Oil Presses:
1. Before use, carefully read the instruction manual to familiarize yourself with the machine’s performance characteristics and operating methods.
2. Before starting the machine, conduct a thorough inspection. Ensure all fasteners are secure, the handle rotates smoothly, and manually rotate the pulley to verify that all moving parts operate normally without abnormal noises. Then, add oil to the reducer.
3. Loosen the locking nut and turn the adjustment screw clockwise or counterclockwise (turning the adjustment handle counterclockwise narrows the cake discharge gap; turning it clockwise widens the gap). Prepare to start the machine.
4. Adjust the temperature controller.
5. Press the main motor button (set the main power switch to the “ON” position). The main unit will start running; the rotation direction should be counterclockwise.
6. After installing a new oil press, perform a 4–8-hour break-in period. To do this, slowly feed cake material that has already been pressed for oil into the hopper and repeatedly re-press it to polish the pressing chamber.
7. During normal operation, maintain a steady feed rate; avoid overloading, underfeeding, or running the machine empty.
If the machine has been running continuously for an extended period and the temperature becomes too high, take cooling measures such as using a fan.
8. When the pressed oil begins to flow into the top of the oil filter, press the vacuum pump button. Once pressing is complete and all oil has been extracted, open the valve on the oil filter, stop the vacuum pump, and scrape off the dry residue from the filter cloth with a scraper. Then, drain the pure oil from the bottom valve of the oil filter.
10. Shut down the machine. Before shutting down, stop feeding material first, then add a small amount of cake crumbs. Wait until all remaining material in the pressing chamber has been discharged and no more cake emerges from the cake outlet before stopping the machine. After shutdown, turn the adjustment screw clockwise by 1–3 turns, then disconnect the power supply.
Maintenance of the Oil Press:
1. Promptly Clear Blockages
Thoroughly inspect all gaps in the oil press, particularly the space between the screw shaft and the cake ring. Ensure this clearance remains within the normal range. If debris becomes lodged in the gap, clear it immediately to prevent jamming. Additionally, check the tightness of bolts and nuts to prevent loosening due to vibration during operation.
2. Protect Against Water
Since the oil press is rarely used during the off-season, store it away from water sources to prevent oxidation and rust. Before storage, remove any excess oil from the interior to prevent spoilage and ensure that residual impurities do not corrode the machine. Apply lubricating oil to the bearings to prevent rust.
3. Regular Inspections
To maintain optimal performance, periodically restart the oil press. This effectively prevents rust on certain components, which could otherwise affect the machine’s flexibility. Inspect the electrical system to ensure cables are not damaged by rodents during storage.